In tap games boosters are earned constantly and spent carelessly. Since the combination rules are unusually generous, treating them as things to be scheduled rather than consumed is the largest single improvement available.
How they are earned
Group size produces them. Clear a group of around five and you get a small booster; larger groups produce progressively stronger ones. The exact thresholds vary between games and occasionally between updates, so the reliable approach is to notice which size produced which booster in the game you actually play, rather than trusting a number from anywhere else.
Because they come from size, boosters are a direct reward for patience. Every guide on this site says the same thing about small taps for this reason: a two-tap is not just a wasted move, it is a booster that will not now be produced.
What each does on its own
- Line clearer. Removes a whole row or column. Orientation depends on the game and sometimes on how the group was shaped, and it is worth checking once deliberately in an easy level.
- Local burst. Clears a block of squares around itself, usually three by three or five by five. Best in dense areas, weak at the edges.
- Colour clear. Removes every tile of one colour from the board. The strongest single item in most of these games, and the one most often wasted by using it immediately.
Combinations, and why they are worth the wait
Firing two boosters together generally produces something qualitatively different rather than merely additive, and the pattern holds across most games in this family.
- Two line clearers take out a row and a column simultaneously from the meeting point.
- A line clearer with a burst usually widens the line into a band several rows or columns thick.
- Two bursts produce a single much larger explosion.
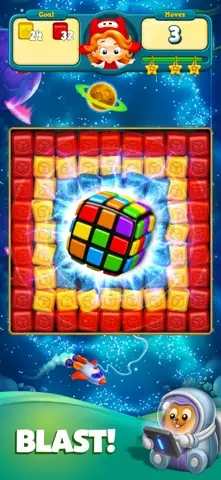
- A colour clear with anything is the decisive play: in most games it converts every tile of the chosen colour into copies of the other booster and fires them all at once. On a board with plenty of that colour, this routinely ends the level.
If a colour clear and any other booster are both on the board, stop making progress and spend your next moves getting them adjacent. Almost nothing else you could do with those moves compares.
Positioning them on purpose
A booster appears where the group you cleared was, so you have partial control over where it lands. When you know you are building towards a combination, clear the group nearest to your other booster rather than the largest group on the board. A slightly smaller booster in the right place beats a larger one three columns away, because moving boosters together costs moves and moves are the scarce resource.
The same applies to goals in awkward positions. Build the booster near the corner that needs clearing, even if that means passing over a better group elsewhere.
The mistakes that cost the most
Three of them account for nearly all wasted boosters.
- Firing on creation. A booster sitting on the board costs nothing to keep unless a spreading obstacle threatens it. Used two moves later in combination, it is worth several times as much.
- Using a colour clear early. Its value scales with how much of that colour is on the board, and the board is usually densest at the start, which tempts people. But its value in combination is higher still, so the right time is when a second booster exists, not when the board looks full.
- Spending boosters on a level already won. Easy to do on autopilot. If the goal is nearly complete, plain moves will finish it, and the booster carries over in games that keep them between levels.
Bought boosters versus earned ones
Most of these games also sell boosters, and offer them at the start of a level and again after a failure. Bought at the start of a level you were going to pass anyway, they are money for nothing. Bought after a failure, at the moment of maximum frustration, they are the most expensive way to buy the least.
The one genuinely reasonable use is a level with a structural problem, such as an obstacle in a place no ordinary move can reach, where a specific booster changes the shape of the level rather than merely adding progress. Those levels exist, they are uncommon, and recognising them is easier when you are not in the habit of buying on every failure screen.